I declared 2015 the year of the bathroom projects around here and I’ve started off with a bang. My first DIY project was to install a plank wall in our downstairs bathroom. I took no pictures during the project, because I wasn’t really sure how it was going to turn out. I’ll post my steps down below, but if you want a more in-depth tutorial, I recommend this one from Life, Crafts & Whatever, and this one from This Nest is Blessed. It was much easier than I expected and turned out phenomenal, in my opinion.
Start at your local home improvement store (we went to Home Depot). You’ll need some sheets of plywood. I opted for the “nicer” plywood that was a little more expensive, but in the end I think it turned out better than the cheaper stuff would have. Ask a nice employee to cut it into strips on their gigantic saw. I had them do 6 inch strips.
My next step was to gather up any leftover paint, stain, etc. I could find in the garage. Every single color you see was created with something I already owned. I also left a few planks untreated. My project covered a pretty small area so I painted 2 of each of my 6″ strips in each different color. Then I sanded and distressed the crap out of them.
Then it was time to start installing. I was originally going to make the studs and nail the board onto the wall. But I’m lazy so I just went and bought some liquid nails and used that to adhere them. I started at the bottom, checking every few rows to see if they were level. If you’re off a little, you can use a coin in between rows to prop the boards up a little while the glue dries. This make it easy to keep working and keep everything looking like it was spaced correctly.
The hardest part of this project was working around the small lip of the sink and cutting an areas for the light fixture. I had to do all that with a small hacksaw and it took FOREVER. When I reached the top I had a small section left so I also had to cut my boards length-wise to make them fit.
I finished it off with a new frame for the mirror. I made this myself using 4 pieces of wood and adhered it with liquid nails again. We also sprung for a new industrial looking light fixture that I found on ebay.
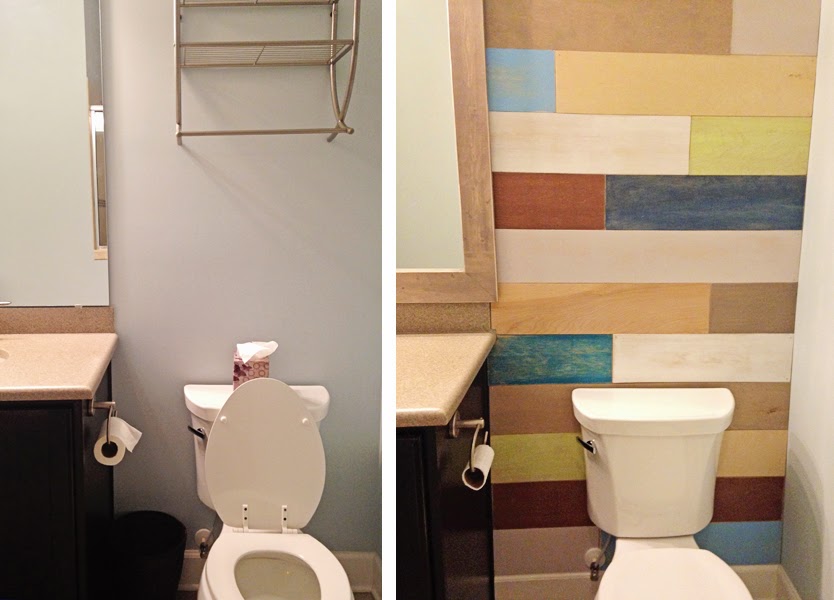
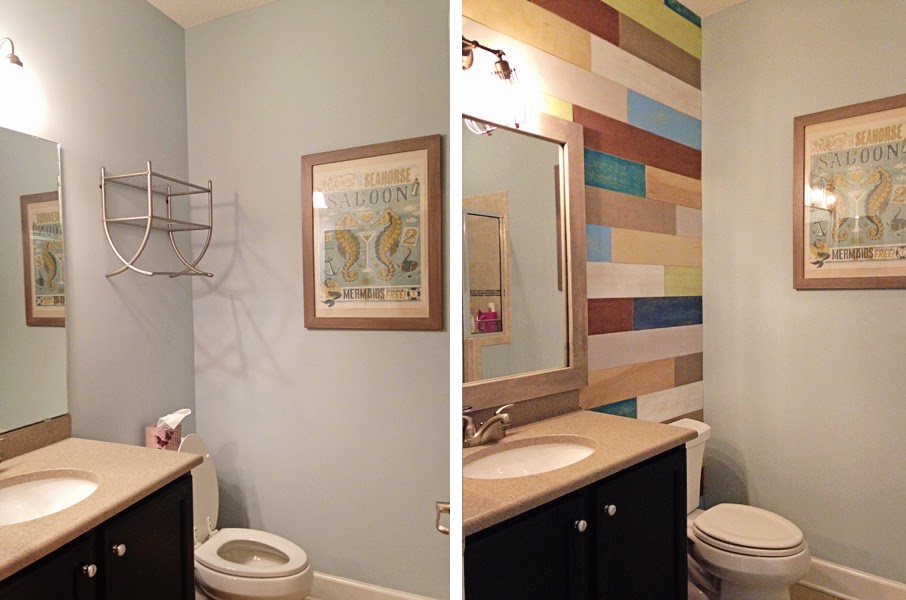
Here are some of the side-by-side before and after pics I took so you can get the full effect.